How do I install a car seat correctly? Installing a car seat might feel overwhelming, especially if you’re a new parent or using a seat for the first time. But you’re not alone—many caregivers feel unsure whether the seat is tight enough, angled properly, or even in the right spot.
The truth is: a correctly installed car seat can make all the difference in a crash.
Let’s walk through the process together, step by step, to ensure your child rides as safely as possible.
What type of car seat should I use for my child?
Infant Car Seat
This is designed for newborns and younger babies, usually from birth up to 30–35 pounds. It’s rear-facing and portable, often used with a base that stays in the car.
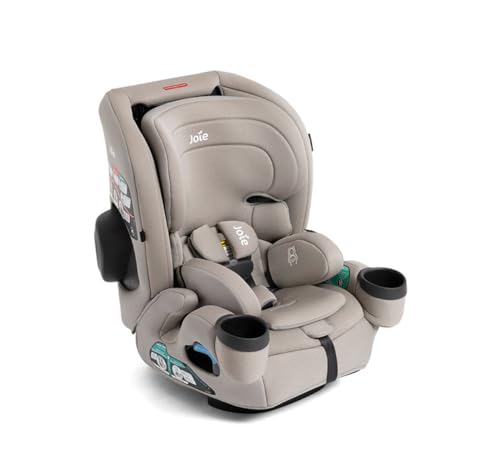
Convertible Car Seat
This can be used both rear-facing (for infants and toddlers) and forward-facing (for older children), making it a cost-effective long-term option.
Booster Seat
Used once your child outgrows a forward-facing seat, usually between ages 4 and 8 or until they are big enough to use a regular seatbelt.
📌 Remember: The American Academy of Pediatrics recommends that children remain rear-facing until at least age 2, or until they exceed the seat’s height and weight limits.
Where should I install the car seat?
The safest spot in your car is typically the rear middle seat, away from airbags and with the best crash protection zone. If your vehicle doesn’t allow center installation (some cars have no center LATCH anchors), choose either the left or right rear seat—just make sure the installation is tight and secure.
Tips:
- Avoid the front seat unless absolutely necessary (like in a two-seater vehicle).
- Always deactivate airbags if a rear-facing seat is placed in the front (as per vehicle guidelines).
How do I install a rear-facing car seat?
Rear-facing seats protect your baby’s head, neck, and spine by cradling the body in the event of a crash. Here’s a step-by-step guide:
Step 1: Read the Manuals
Both your car seat and vehicle manuals contain vital information. Look for the child restraint section in your car’s guide.
Step 2: Choose Your Installation Method
You can install with either:
- LATCH system (Lower Anchors and Tethers for Children)
- Seat belt (just as safe if used correctly—never use both together)
Step 3: Position the Base
Place the base tightly in the vehicle seat and secure it using your chosen method.
Step 4: Check the Recline Angle
There’s a built-in level indicator—make sure the seat isn’t too upright or too reclined.
Step 5: Secure the Car Seat into the Base
Listen for a click. Gently tug the seat to ensure it’s locked in.
Step 6: Tightness Test
The seat shouldn’t move more than 1 inch side-to-side or front-to-back at the belt path.
How do I install a forward-facing car seat?
Once your child is big enough, usually around age 2 or older (and at least 22 pounds), they can transition to forward-facing.
Step 1: Adjust the Harness Straps
Straps should come through at or above your child’s shoulders.
Step 2: Place the Seat
Position it flat against the vehicle seat, with no slack behind the back.
Step 3: Use LATCH or Seatbelt
Tightly secure the seat using either method. Check your vehicle manual for weight limits on the LATCH system (often 65 pounds combined child + seat).
Step 4: Attach the Top Tether
This is crucial—it reduces head movement in crashes. Hook it to the vehicle’s anchor and tighten.
Step 5: Perform the Tightness Test
Again, the car seat should not move more than 1 inch in any direction.
How should I place the harness on my child?
A properly adjusted harness is essential for your child’s safety.
For Rear-Facing Seats:
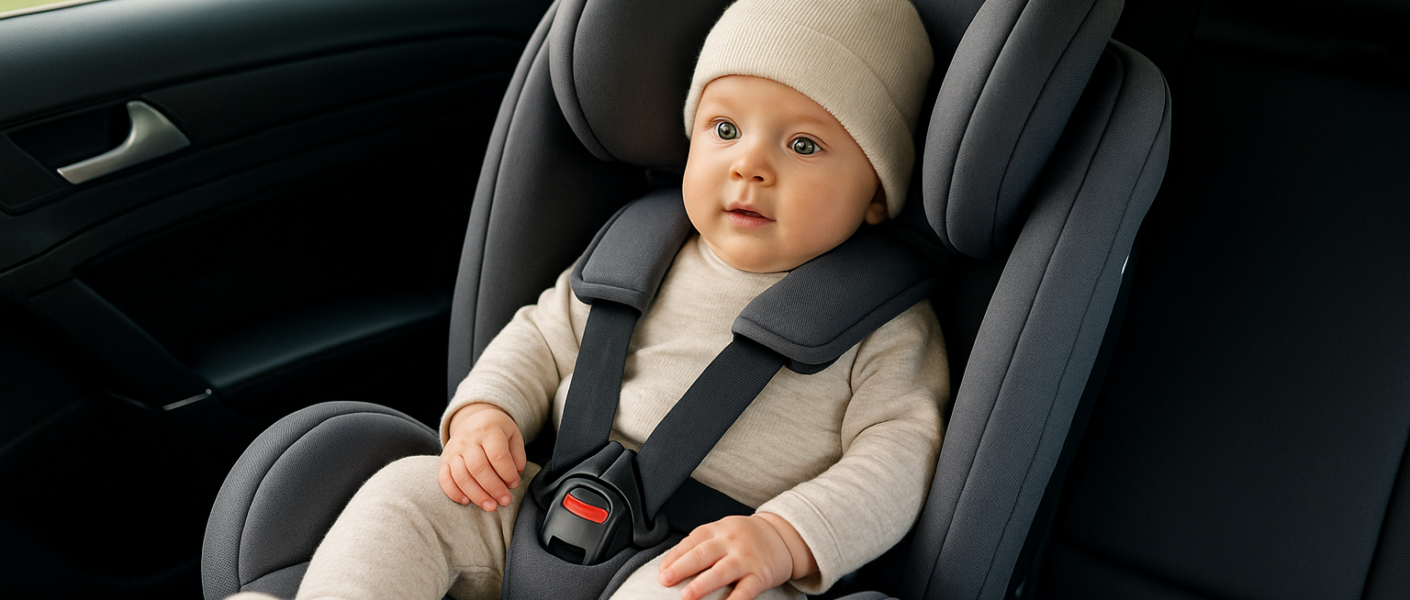
- Harness straps must be at or below the shoulders.
- The chest clip should be at armpit level.
- Straps should lie flat without twists and be snug—you shouldn’t be able to pinch any slack at the shoulder.
For Forward-Facing Seats:
- Harness straps must be at or above the shoulders.
- Keep the same snugness and chest clip placement.
👶 Tip: Dress your child in thin layers to avoid interfering with harness tightness. Bulky coats can prevent a secure fit.
What are common car seat installation mistakes?
Even with the best intentions, mistakes happen. Here are a few to avoid:
❌ Loose installation
The seat should feel like part of the vehicle—if it wobbles, it’s too loose.
❌ Incorrect angle
Especially with rear-facing seats, the recline angle helps prevent head slump and airway blockage.
❌ Misrouted belt path
Make sure you’re using the correct belt path depending on seat direction.
❌ Skipping the top tether
Many caregivers forget this step with forward-facing seats—it’s essential for reducing injury.
❌ Harness too loose
Check harness fit every time you buckle your child in.
When should I switch my child to a booster seat?
You should move to a booster seat only when your child has:
- Outgrown the height or weight limits of their forward-facing car seat (check the label).
- Has the maturity to sit still in a seatbelt (usually around age 5–8).
The booster raises your child so that the vehicle seatbelt fits properly:
- Lap belt lies across the upper thighs
- Shoulder belt crosses the middle of the chest and shoulder
Never use a booster with just a lap belt.
Can I get my car seat installation checked?
Absolutely—and it’s highly recommended!
Many local agencies offer free car seat inspection events or one-on-one appointments. Certified Child Passenger Safety Technicians (CPSTs) can verify:
- Your seat is correctly installed
- Your child is harnessed properly
- You’re using the safest method for your vehicle
Find a technician or location near you at https://cert.safekids.org
How do I maintain my car seat after installation?
Regular Checks:
- Ensure the seat is still tightly installed
- Check the harness for fraying or twisting
- Confirm your child hasn’t outgrown the seat
Clean With Care:
- Follow manufacturer instructions—most allow wiping down with mild soap and warm water
- Never use harsh chemicals or bleach
- Wash the cover and harness pads only as directed
Conclusion
Installing a car seat correctly isn’t just a good idea—it’s one of the most powerful ways to protect your child on the road. Although the steps can seem intimidating at first, taking the time to read your manuals, position the seat properly, and verify tightness makes a huge difference. You’ve got this! And remember, you can always reach out to a certified technician for support.
FAQs
No. Use one or the other, as using both can interfere with proper performance in a crash.
All vehicles manufactured after 2002 are required to have LATCH, but if yours doesn’t, the seat belt method is just as safe when installed correctly.
Only if you know its history and it has never been in a crash, is not expired, and meets current safety standards.
Keep your child rear-facing until they reach the maximum height or weight allowed by the seat manufacturer—even if older than 2.
At least once a month, and especially after switching cars or removing the seat for cleaning.
References
- American Academy of Pediatrics (AAP): https://www.healthychildren.org/English/safety-prevention/on-the-go/Pages/Car-Safety-Seats-Information-for-Families.aspx
- National Highway Traffic Safety Administration (NHTSA): https://www.nhtsa.gov/equipment/car-seats-and-booster-seats
- Safe Kids Worldwide: https://www.safekids.org/
- Centers for Disease Control and Prevention (CDC): https://www.cdc.gov/transportationsafety/child_passenger_safety/index.html
- Car Seats for the Littles: https://csftl.org/
I’m Cris Coelho, and motherhood has transformed my life!
As a speech therapist and early childhood educator, I’ve always been passionate about child development. But it was becoming a mother that truly opened my eyes to the real challenges and joys of this journey.
Here at Materníssima, I share everything I’ve learned — blending professional knowledge, real-life experience, and a heartfelt touch.
You’re very welcome here! 💕


